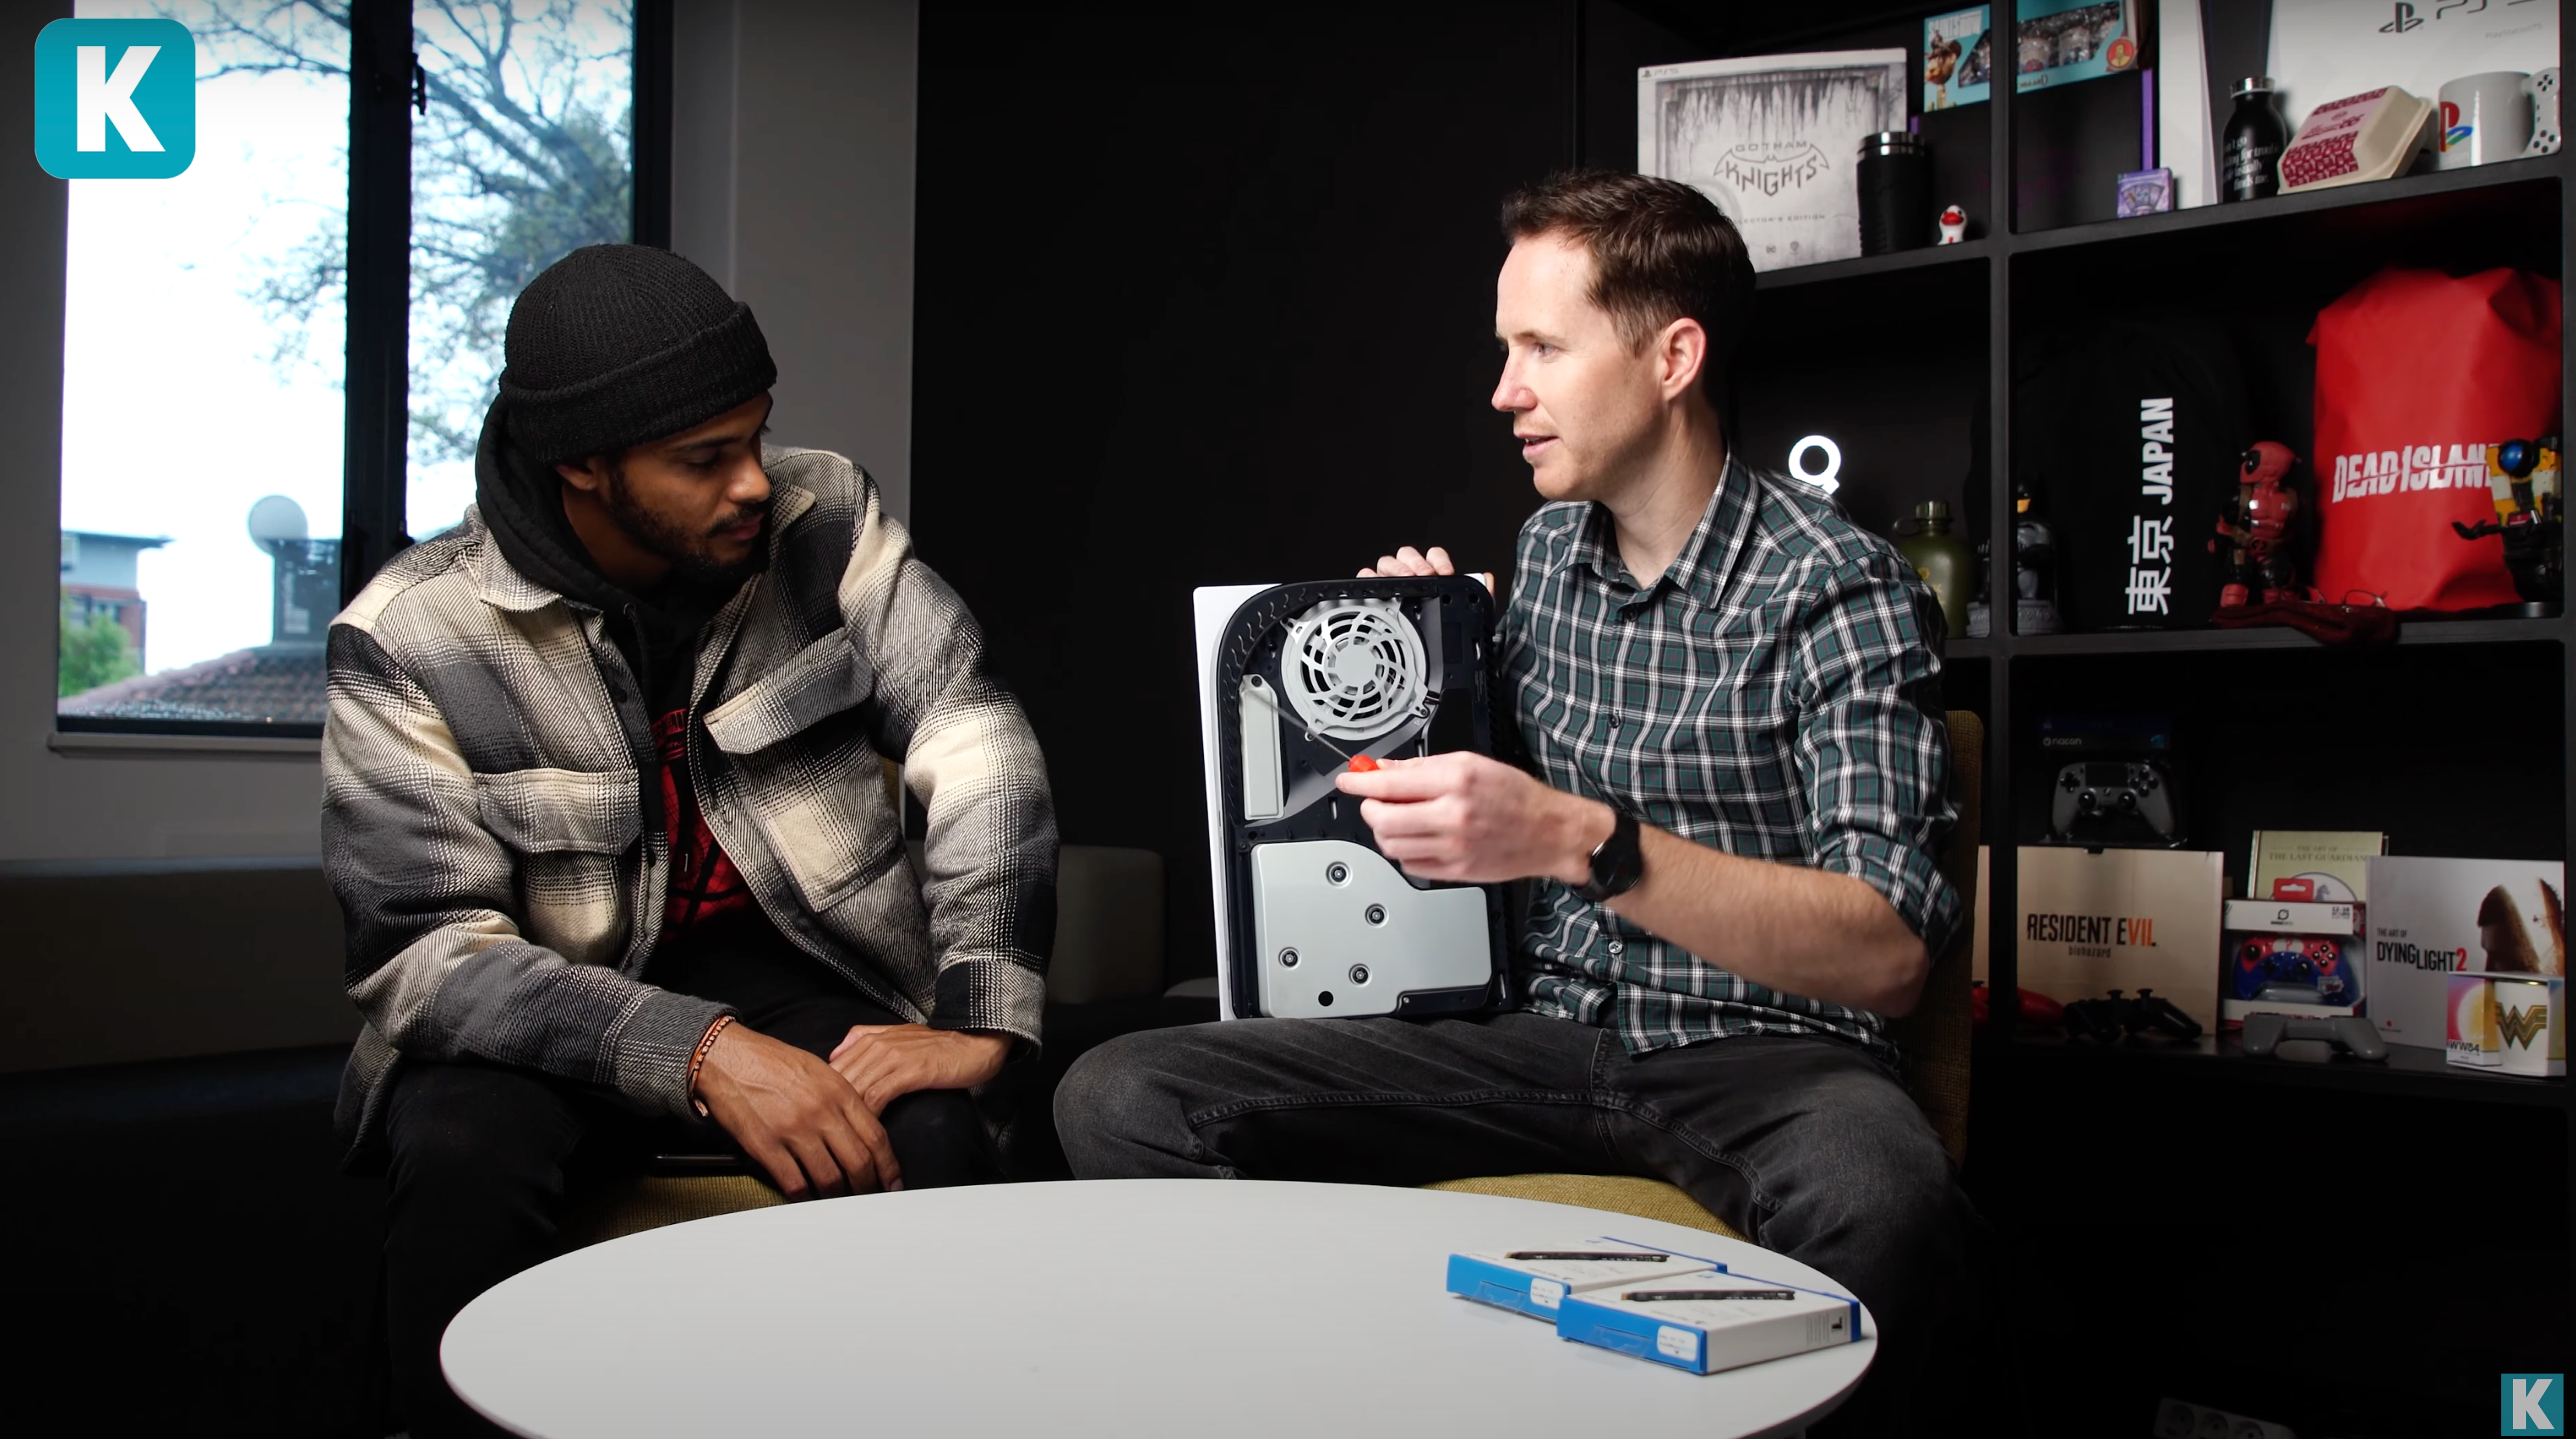
If you're a PS5 owner, you might be wondering how to install an SSD in your console to expand its storage capacity and enjoy faster loading times. Well, you're in luck, because in this blog post I'll show you how to do it in a few simple steps.
Here's what you need:
- A compatible SSD. KOODOO.co.za has a selection of SSD’s that are compatible with the PS5.
- A Phillips-head screwdriver.
Ready? Let's get started!
- Turn off your PS5 and unplug the power cord.
- Remove the side panel by sliding it down and lifting it up.

- Locate the expansion slot cover and unscrew it with the screwdriver.


-
Insert the SSD into the slot at a 45-degree angle and push it down until it clicks into place.


- Secure the SSD with the screw and spacer that came with your console. You may need to adjust the spacer depending on the size of your SSD.

- Replace the expansion slot cover and screw it back in.


- Reattach the side panel by aligning it with the console and sliding it towards the front.

- Plug in the power cord and turn on your PS5.
- Follow the on-screen instructions to format your SSD.
- Copy games across to your new SSD!
Congratulations! You've successfully installed an SSD in your PS5. Now you can enjoy more storage space and faster performance for your games. Have fun!


Share:
Mortal Kombat 1 | Beta Launch
Black Friday 2023 | Everything you need to know